
How to Fill a Large Outdoor Planter for Low Maintenance
There’s something satisfying about setting up a planter that practically takes care of itself. For those who appreciate plants but don’t have the time to check soil moisture daily, a low-maintenance container garden makes life simpler. Whether you’re preparing for a new season or looking to refresh your space, filling a planter the right way from the start can save time, effort, and even water.
Choosing the Right Foundation
When working with large outdoor planters, especially ones that span several feet or more, what goes underneath the soil plays a bigger role than it might seem. Without some planning, too much soil adds unnecessary weight, slows drainage, and creates soggy conditions that stress plant roots.
Start with filler material to occupy the lower portion of the container. This lightens the load and helps manage moisture. Some gardeners turn to packing peanuts, but make sure they’re non-biodegradable to avoid collapse over time. Alternatives include soda cans, plastic bottles, and even paper cups, all of which hold shape and won’t absorb water.
Cover the filler layer with a sheet of landscape fabric. This barrier keeps your growing medium from sinking while still allowing water to pass through. It also separates organic material from inorganics, which helps during future repotting or seasonal refreshes.
Focus on Drainage
Oversaturation is the fast track to root rot. For a planter to function without constant attention, proper drainage is essential. Before filling anything, double-check for drainage holes at the base. Most quality containers include them, but it’s worth confirming. If they’re missing, they’ll need to be drilled.
Between the bottom filler and the soil above, add a layer of landscaping rocks or wood chips. These act as common drainage materials, giving water a place to settle briefly before moving down. This setup discourages water from pooling around the root zone.
If you want an extra layer of moisture protection, bubble wrap around the inner wall can help reduce heat fluctuation and slow evaporation without interfering with drainage. This can make a noticeable difference in dry or windy climates.
Filling With Purpose
When choosing your soil, aim for a high-quality potting mix. It’s specifically designed to be light, airy, and absorbent, qualities that garden soil alone lacks in a container. Unlike bagged topsoil, a potting mix won’t compact over time or restrict airflow. Good aeration promotes healthy growth, especially in deep planters where air circulation matters more.
You might notice your planter takes more soil than expected. That’s normal with wide containers. Don’t be tempted to top it off with random garden leftovers, though. Stick with one consistent medium to keep drainage and pH levels steady.
For added sustainability, mix in a handful of organic matter such as composted bark or decomposed leaves, but keep it balanced. Too much can retain excessive moisture or throw off the nutrient profile. A tablespoon of slow-release fertilizer can also be helpful if your plants need it, especially in edible setups.
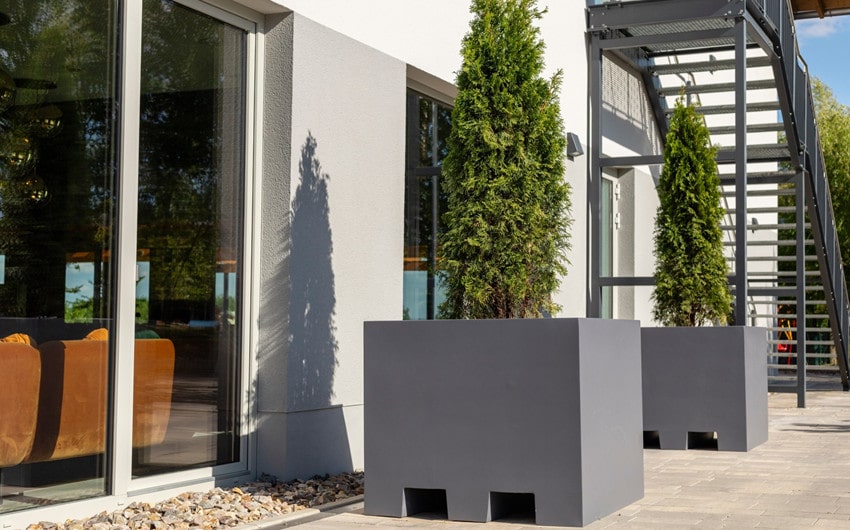
Filling Tall Planters Without the Weight
Tall containers are striking additions to patios and entryways, but they can easily weigh hundreds of pounds when filled entirely with soil. To avoid this, lean on lightweight fillers. Materials like coconut fiber, cinder blocks, or even upside-down nursery pots can reduce total volume without sacrificing structure.
Be strategic with placement. Reserve the upper third for potting mix, as this is where most root activity occurs. Larger root systems benefit from depth, but shallow-rooted annuals and herbs can thrive in just 12 inches of soil. That upper zone is where water, air, and roots find their natural rhythm.
Arranging for Function and Form
A low-maintenance planter should feel effortless. Choose combinations of plants that have similar water needs, whether you’re growing an edible garden or something more decorative. Mixing drought-tolerant herbs with moisture-loving flowers creates a mismatch that needs more frequent monitoring.
For smaller spaces like urban gardens, go vertical with trellised vines or compact vegetable varieties. If you’re planting on a balcony or rooftop, wind resistance matters, so avoid top-heavy arrangements unless the planter is firmly weighted.
Some choose to decorate the soil surface with glass pebbles or bark mulch. Besides visual interest, these layers help slow evaporation and minimize weed growth. These small additions can also reflect the style of a creative workspace or home office. They also add an aesthetic appeal that complements patios, porches, and colorful homes alike.
Caring for the Finished Planter
Once filled and planted, water thoroughly until you see a steady drip from the bottom. This confirms that the filler, barrier, and soil are functioning as a unit. Then, step back and observe how the planter behaves over the first week. How fast does it dry? Does water pool at the top or drain freely?
If your container sits in an uncovered area, monitor it after heavy rain. If excess water lingers, the filler layer might need adjustment. A slightly tilted base can also help move water toward the drainage outlet.
Check occasionally for plant density. As roots expand, they can crowd each other, limiting airflow and nutrients. For low-maintenance care, aim for seasonal trimming rather than frequent replanting. If you want to switch out seasonal blooms, remove only the upper layer, leaving your base intact for next time.
A Finishing Touch
Filling a large planter may seem like a quick weekend project, but the right approach lays the groundwork for a setup that stays productive with minimal upkeep. A thoughtfully layered container adds structure, encourages healthy growth, and quietly brings life to patios, entryways, or quiet corners that need softening.
If you’re a plant lover looking to refresh your outdoor space, there’s satisfaction in building something that lasts. It means less watering, fewer worries, and a quiet boost to your curb appeal.